Friday, February 27, 2015

Trip Around the World Quilt Pattern

You might think the "Trip Around the World" quilt pattern is simple. In some ways, you are correct. It is just a simple grouping of fabric strips cut apart and reassembled. There are essentially two ( or 3) areas of difficulty.
1st is choosing the order of the fabrics. With some groups of fabrics, this may not be an issue. In others, the order is very important. A slow fading between dark and light fabrics makes the pattern stand out better than dark-light-dark-light-etc.

2nd is aligning the fabrics on reassembly. While I usually do not use pins, I use pins when sewing together these types of quilts. Aligned squares look much better in a finished quilt.

3rd is optional. If you have fabrics that have a notion of up and down and you care that your quilt had an up and down (as scene when holding upright), then you must sew 2 groupings of strips. One grouping with the fabric order ascending and one with the fabric order descending.

I tend to make these quilts requiring the 3rd option. Here are a couple of my themed around the world quilts. I'll add a 3rd quilt in a couple of days. All of these quilts have been professionally quilted by a local Long-arm quilter.

Halloween Themed Quilt

St Patrick's Day Themed Quilt

Close-up

Showing back/binding.


Valentine's Day Quilt:


Close up on center and quilting:
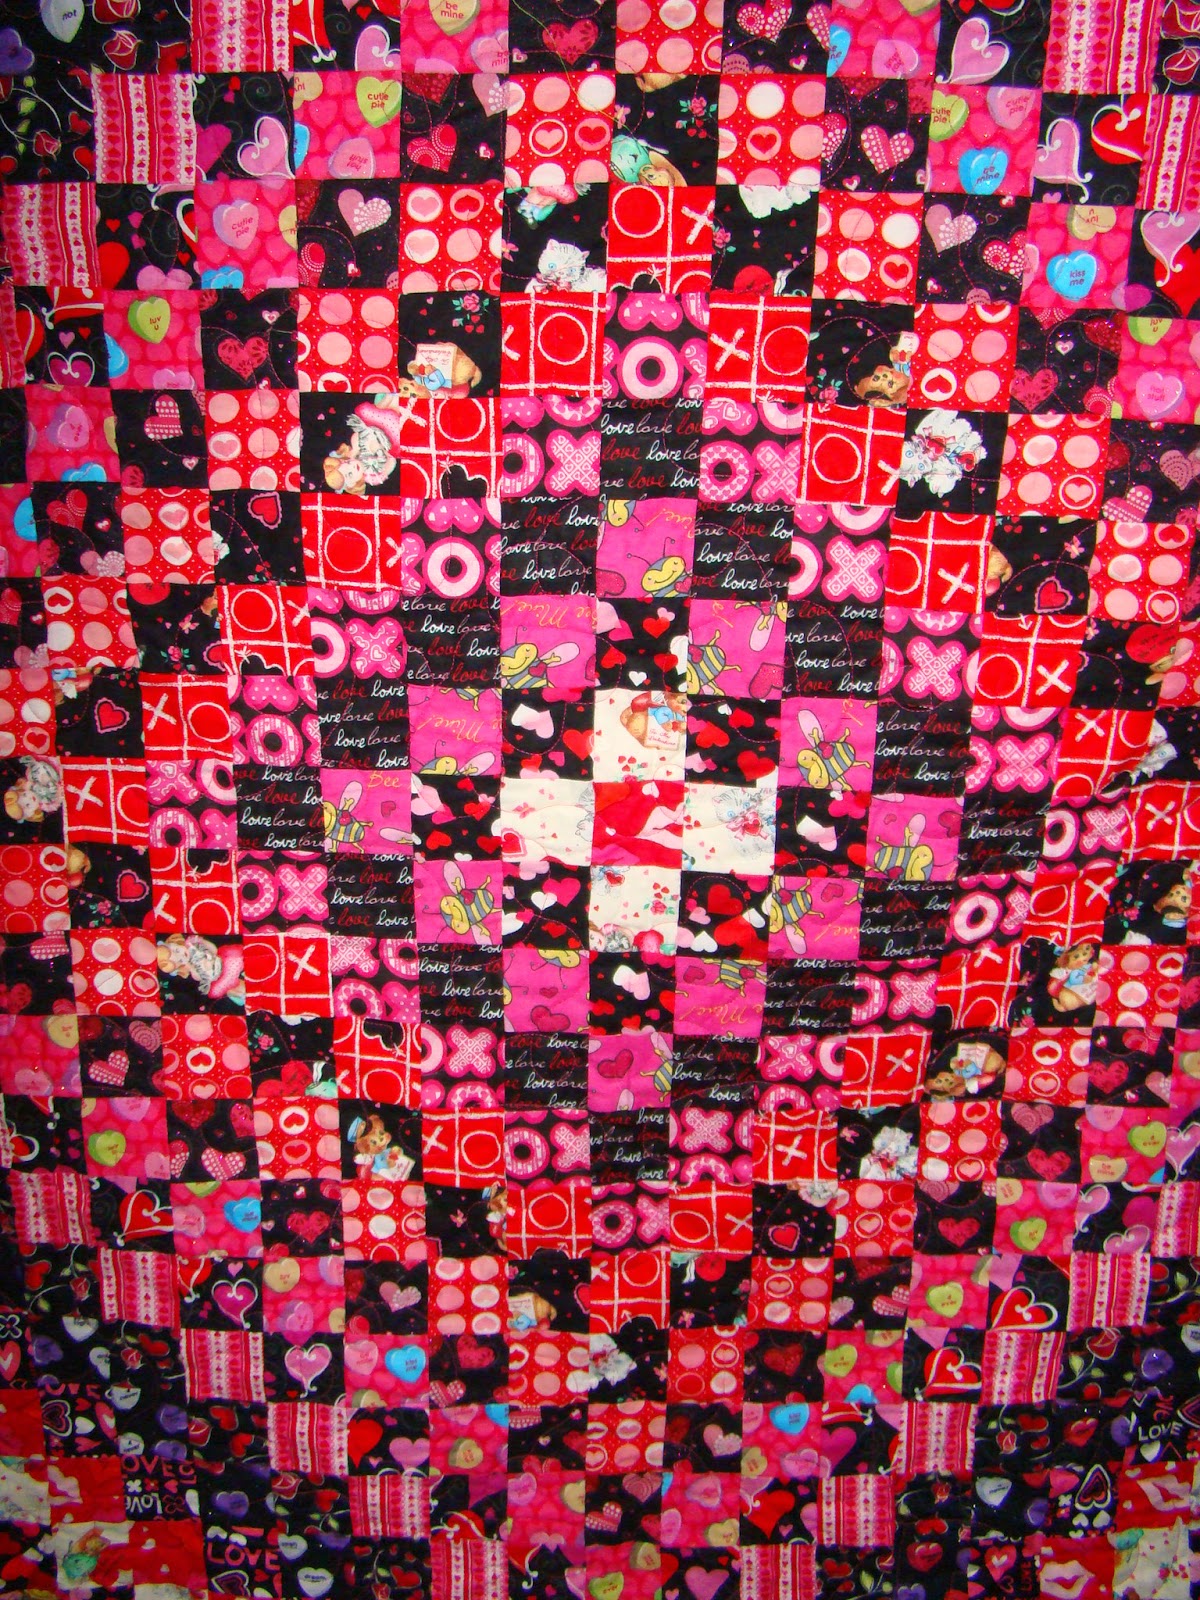


Back:


Sunday, February 16, 2014

Feed Sack Placemat Quilt

A few months ago, I was looking through my quilt magazines and books and came across an interesting place mat pattern. The pattern used triangles of feed sack fabric with triangles of a solid. I decided to expand the pattern into a quilt.

First, I created a picture of what I wanted.


The place mat was equivalent to one of the larger squares with 1/4 of each of the surrounding squares. Using the 2 big squares to 4 smaller squares technique,  I started making the triangles.


Once I had all the mini squares cut, I started laying out the pattern.


It was a lot of sewing and a lot of lining up, but I'm very happy with the finished quilt.


Friday, January 31, 2014

Recreating a feedsack quilt

For Christmas, my wife bought me a Moda feed sack FQ bundle. After completing a flower basket quilt, which I'll post later, I thought I recreate a vintage quilt my wife has in her collection.


This vintage quilt has very large squares (15") and I didn't want to use too much of my feed sack fabric on a single quilt. My first step was to investigate how to shrink the quilt.


1. Let's look at a single original block. The block is made up of 1 solid square, 4 half triangle squares, and 4 double mini squares squares. Each of these is 5" square.


For the most part, reducing the size of any square is pretty simple. The hard part here was the double square squares.

In this square, the diagonal of the mini square is important as the 2 combined diagonals is equal to the width of the finished square. 

2. I decided that I wanted the finished squares to be 13.5" with each of the 9 sub-squares 4.5". For the double mini squares, it meant the diagonal of each mini would be 2.25". Now I had calculate what the size of the fabric I needed to cut to make the minis, so I wrote an App for that. 
The width of the cut fabric would need to be approximately 2 1/8".

I cut a 2 1/8" strip of each of the feed sack prints plus 2 1/8" strip of my white solid. I sewed the one of each of the prints to a white strip, right sides together. After ironing the seam, I cut the strips into 2 1/8" sections. I then combined 2 of each of sections together and ironed the new seam. 

3. Time for another calculation. I need to add triangles to each of the sides of this new square to add the finish corners. The edge of this square provided the diagonal of the finished corner triangles, 3 3/4". The sides of the triangle need to be approximately 3 3/16" long.


Now that the double mini's are done, the rest is pretty simple. 

4. Cut strips of the print and solid fabric 5" wide. From the print, cut a single 5" square and then cut 4 triangles using a triangle template. From the solid, cut matching triangles. Take a print and a solid triangle and sew on the hypotenuse (diagonal). 


Iron the seams.


5. Now lets combine the pieces:


6. And combine the squares:


7. I haven't had a chance to drop this off at my long arm quilter's yet. I'll update later with the finished quilt.